
Location: Material Labs
Tools for basic ceramic work include wheels, kilns, extruders, slip tables etc., a 30 ton ceramic press, and a 3D printer. Whether you need a drying bat, a simple hump mold, or you’re making a complex mold for slipcasting, you’ll need to mix plaster. Getting the plaster right can be a little challenging if you are new to it. We're hoping you can find many of the resources you'll need to help you better understand and use this essential pottery studio tool on this page.
We’ve also included what we think are the 10 Steps for Success with Plaster. If you don’t feel comfortable "eyeballing it" when it comes to mixing plaster, you can consult the handy dandy Plaster to Water Mixing Chart below. Having all of these resources in one place, should make your next plaster project a piece of cake.
Tools
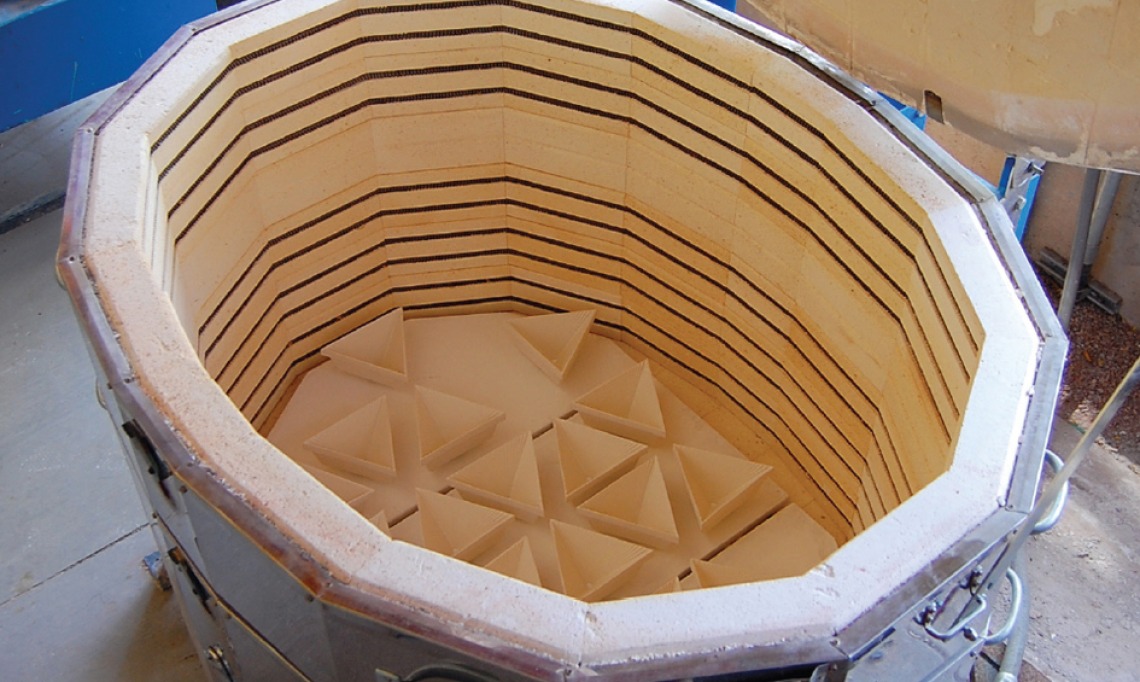
- Bailey oval kiln 24”x40”x24”deep
- RAM ceramic mold press#30 ton
- Bailey Extruder
- Bailey Mixer/Pug mill
- Slip table
- Ceramic roll press
10 Steps for Success with Plaster
- Prepare your mold. A common mistake of potters is to mix plaster only to realize everything’s not set up for pouring. Before casting, make sure your model is set, the mold boards or cottle are secure, and all the surfaces you’re pouring onto are coated with a parting agent such as mold soap.
- Prepare your work area. You will need a clean mixing container for the plaster, a scale for weighing the plaster, a measuring cup for the water and a rinse bucket. Note: Plaster cannot be permitted to go down the drain, because it will form a rocklike mass. Even small amounts will accumulate over time. Line a rinse bucket with a plastic garbage bag and fill it with water for rinsing your hands and tools. Allow the plaster to settle for a day, then pour off the water and discard the bag.
- Use fresh water. The mixing water you use should be at room temperature or 70°F (21°C). If the water is too warm, the plaster will set too fast and vice versa. Use only clean, drinkable tap water or distilled water. Metallic salts, such as aluminum sulfate, can accelerate the setting time, and soluble salts can cause efflorescence on the mold surface.
- Use fresh plaster. Plaster is calcined, meaning chemically bound water has been driven off through heating. If the plaster has been sitting around in a damp environment, it will have lumps in it, in which case it is no longer usable. Pitch it. Use plaster that has been stored dry and is lump free.
- Weigh out materials. Do not guess about the amounts of plaster and water you’ll need. Once you start the mixing process, you do not want to go back and adjust quantities. To determine the amount you need, estimate the volume in cubic inches then divide by 231 to give gallons or by 58 to give quarts. Deduct 20% to allow for the volume of plaster, then refer to the table.
- Add plaster to water. Slowly sift the plaster onto the surface of the water. Do not dump the plaster or toss it in by handfuls. Adding the plaster shouldn’t take more than 3 minutes.
- Soak the plaster. Allow the plaster to soak for 1-2 minutes maximum. The soaking allows each plaster crystal to be completely surrounded by water and it removes air from the mix. Small batches require less soaking than large batches. If the soaking time is too short, it may contribute to pinholes; and if it is too long, it will contribute to fast set times, early stiffening and gritty mold surfaces.
- Mix the plaster. Small batches of plaster can be mixed by hand. Use a constant motion with your hand and you will notice a change in consistency from watery to a thick cream. Break down lumps with your fingers as you mix. Mix only for a minute or two being very careful not to agitate the mixture so much that air bubbles are incorporated into the mix. Mixing time affects absorption rates-longer mixing times produce tighter and less-absorptive molds.
- Pouring the plaster. After mixing, tap the bucket on a hard surface to release trapped air. Pour the plaster carefully. Wherever possible, pour plaster carefuly into the deepest area so the slurry flows evenly across the surface of the mold. Once the mold is poured, tap the table with a rubber mallet to vibrate the mold and release more air bubbles.
- Drying plaster. When plaster sets, it heats up because of a chemical reaction. When it has cooled, it is safe to remove the cottles or forms-about 45 minutes to an hour after pouring. Molds must be dry before use. Drying molds properly promotes good strength development, uniform absorption and reduced efflorescence. Dry molds evenly. Don’t set them near a kiln where one side is exposed to excessive heat or the relative humidity is near zero. Place them on racks in a relatively dry location away from drafts.
Water to Plaster Mixing Chart
|
Water |
Plaster |
|
1 quart |
2 lbs. 14 oz. (1,293 grams) |
|
1 1/2 quarts |
4 lbs. 4 oz. (1,937 grams) |
|
2 quarts |
5 lbs. 11 oz. (2,585 grams) |
|
2 1/2 quarts |
7 lbs. 2 oz. (3,230 grams) |
|
3 quarts |
8 lbs. 9 oz. (3,878 grams) |
|
3 1/2 quarts |
10 lbs. (4,522 grams) |
|
1 gallon |
11 lbs. 6 oz. (5,171 grams) |
|
1 1/2 gallons |
17 lbs. 2 oz. (7,756 grams) |
|
2 gallons |
22 lbs. 13 oz. (10,337 grams) |
|
2 1/2 gallons |
28 lbs. 8 oz. (12,923 grams) |
|
3 gallons |
34 lbs. 3 oz. (15,508 grams |
This table is based on USG(r) No. 1 Pottery Plaster mixed to a consistency of 73 (73 parts plaster to 100 parts water) recommended for most studio applications. Excessive water yields a more porous and more brittle mold; less water means a very dense, hard mold that will not absorb water.
For great mold making techniques, be sure to download your free copy of Ceramic Mold Making Techniques: Tips for Making Plaster Molds and Slip Casting Clay, Volume II.
Supplies
Marjon Ceramics
426 West Alturas Street
520-624-2872