
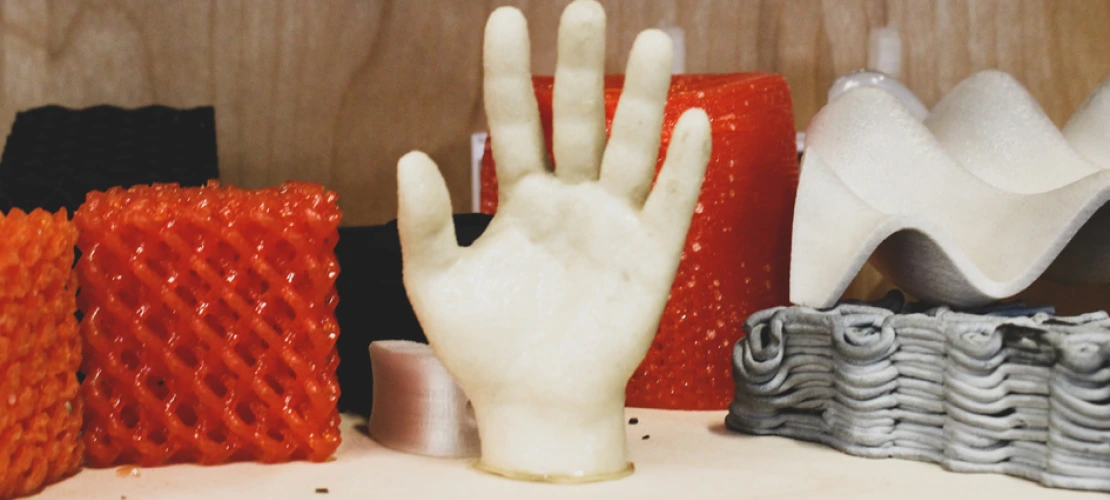
3D Printing
The 3D Printers or rapid prototyping tools are machines which produce a 3-dimentional solid object from a digital 3D model. Our 3D printers use additive layer manufacturing to produce models. We have several different types of printers here. Eight use the FDM (fused deposition modeling ) process, which is extruding a heated plastic filament of PLA or ABS and fusing the layers together. One has a wash-out support. There two experimental resin printers, one SLA (Stereolithography) that cures layers of resin with a photo laser, the other has a UV digital light projector to cure resin, this uses software that translates your geometry into .png files. Printed layers of material are created by the printer by following a set of instructions (gcode) (.stl file extension) from the software to slice a 3D model into layers, then building up those layers until it creates a complete printed 3D model.
The Dimension printer- 1200es (Lexus) has a 10" cubed build area, it prints with an ABS media and a washout support structure (Cost is $.25 per gram for CAPLA students only). For UofA students and Faculty outside of CAPLA, the costs are $10.00 a cubic inch. There are 8 Prusa printers are using a PLA with an approximate 9x6x6" build area. They are located now in the Model lab and students have 24/7 access to them. We are currently using Cura to create the .stl files to format meshes to be printed on the prusa printers. We would encourage students to learn the Cura software and run the 3D printer themselves. Be sure to setup your Cura for the Prusa i3 MK3S 3D printers. Students can then use an SD card from their computer and transfer the .stl into the prusa to print on their own.
If you want to be successful with your prints, follow these steps:
- Build the model at the scale you want to print, that fits the printer envelope, i.e. inside of a 6" x 6" x 6" box. (instead of taking a building you have designed in feet, at say 300' x 150' and scaling it down to 6" to print, which will not work because the walls are now the thickness of a piece of paper, rebuild the model leaving all the details out in a 6" x 6" x 6" cube.)
- Before trying out your .stl files yourself or submitting your prints if you need help with your .STL mesh from Rhino do these checks, found in this awesome video:
- Be sure every object you want to print has its' own .STL file. (very important!)
If you need help to submit a 3D print file, please :
NOTE: For resin printer use list in the form above that you want to use resin contact monitors by email at capla3d@gmail.com or Paulus Musters at musters@arizona.edu
Dimension Wash-out Tank Instructions:
Safety
The cleaning solution in the bath for the dimension prints contains sodium hydroxide which can cause severe burns to eyes, skin and respiratory tract. Proper PPE is required. See instructions posted at the bath. Proper handling is solely the responsibility of the user.
For Operation: See instructions in Lab
Other local sources, to compare costs and for more resources, check these out for 3d printing:
http://www.library.arizona.edu/services/print/3D
Microsoft on-line repair tools for meshes:
https://tools3d.azurewebsites.net/
The lab has had great success with AutoDesks' MeshMixer to repair, alter and provide support for meshes for 3D printing and it's free!
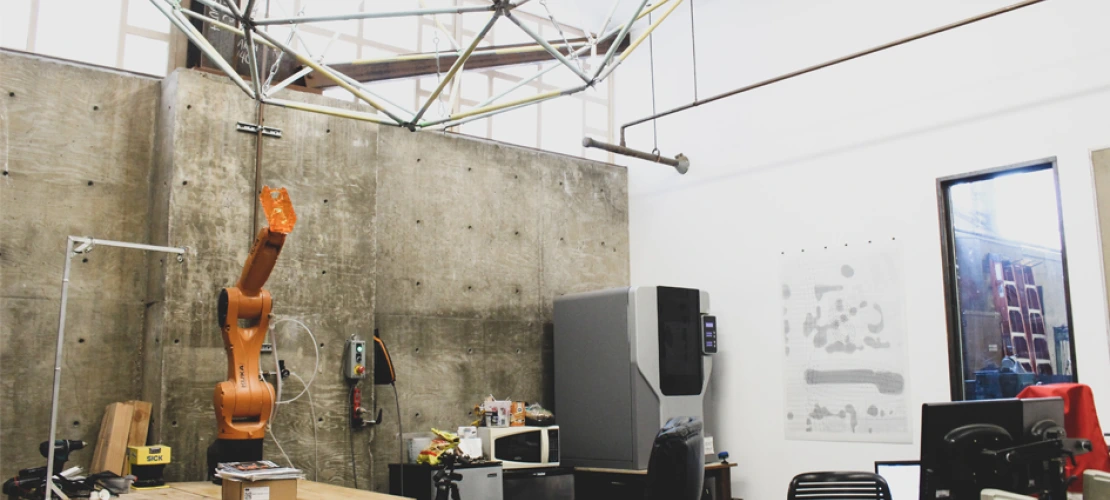
Digital Input Devices Located in Model Lab
The lab has a MicroScribe-3D Desktop Digitizer. This device allows complex geometries to be entered directly into 3D digital files.
SET-UP of INSTRON TESTING Manual
http://www.instron.us/wa/library/default.aspx?d=13
How to plot data in MS Excel
- You must first save all data as a .TXT file. It should be set up to save as a .TXT file but if it is not, open the test method, click on the main tab, go to global parameters, and check the box that says “ASCII Test Data File.”
- Run the test after setting up your test parameters, Scale, Units, etc, in the Main Tabs and save to the desktop or a flash drive. NO internet connection!
- Transfer data to computer with Excel and open .TXT data file.
- Hit file, open “all .TXT files” select your file.
- You will go through the import wizard to bring your file in to Excel.
- There should be 3 columns of data depending on how you set up your data collection. Data, Data point #, and time of the data point.
- To graph, select the time and data point. Then go to “insert”, chose “line” then chose “stacked Line”.